
Ford Mondeo Mk4 Front Headlight Exchange
A cracked lens, a permanently misted-up unit, or a headlight that's gone dim and yellow on one side — on a Mondeo Mk4 any of these usually means the headlight assembly itself needs replacing rather than just a bulb. It's a bigger unit than most hatchbacks carry, and getting the offside/nearside part number right before you order is the difference between a straightforward swap and a return trip to the parts counter.
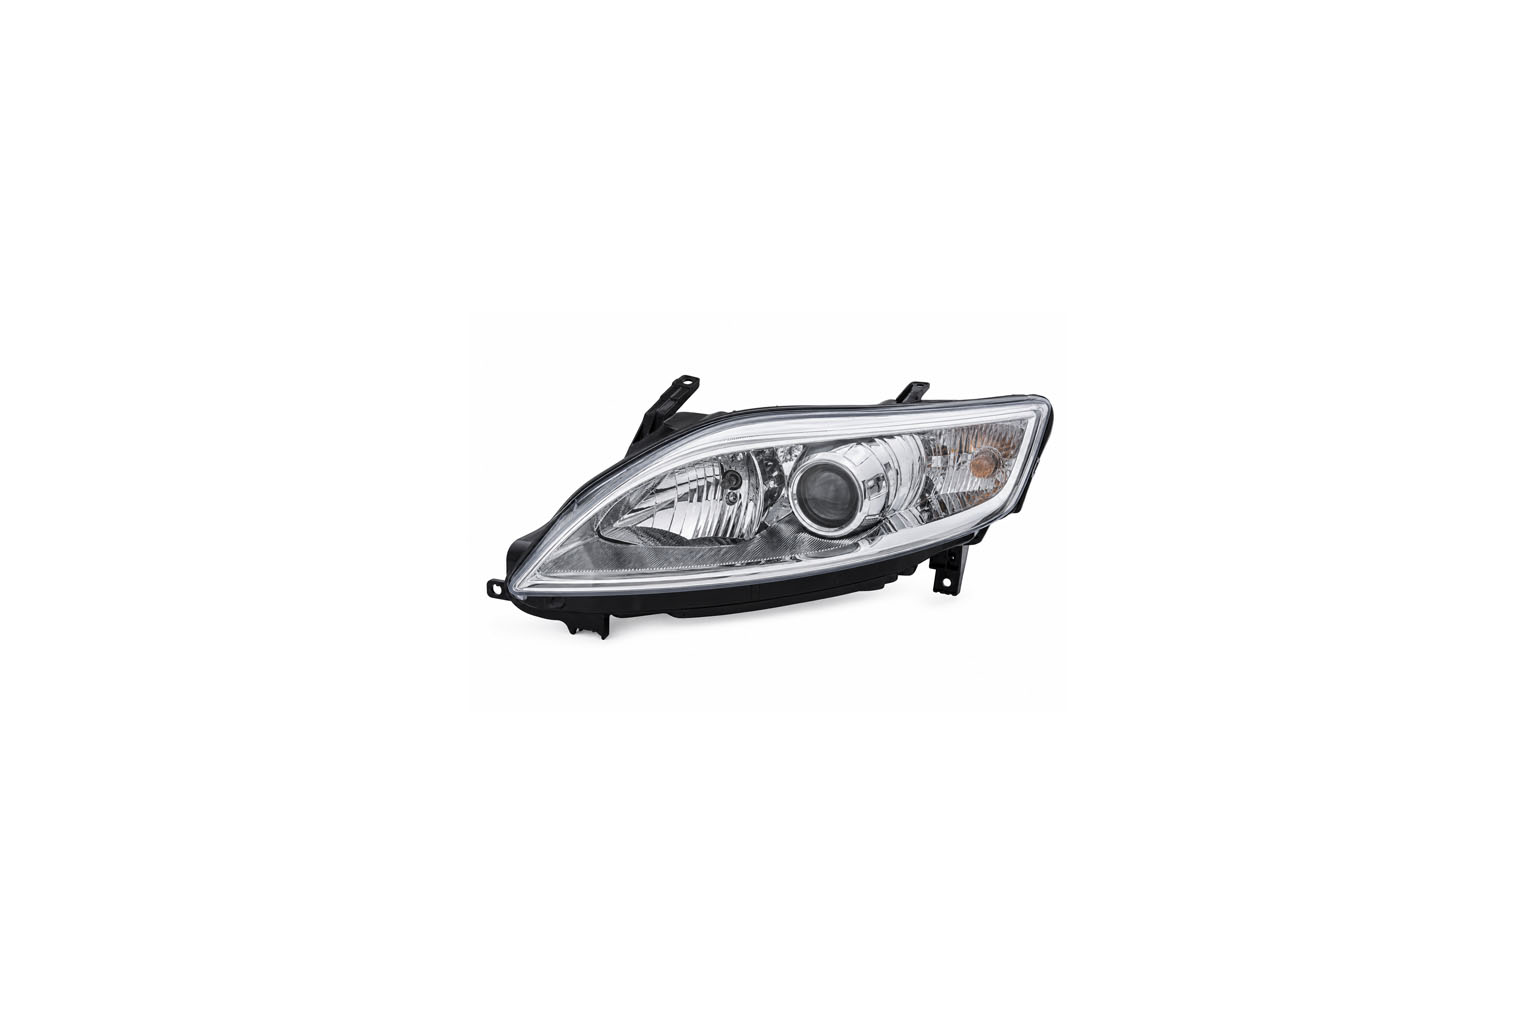
Common failure symptoms
- Visible cracking or crazing on the outer lens, often from stone chips
- Condensation or standing moisture inside the unit that won't clear
- One headlight noticeably dimmer or more yellowed than the other
- Physical damage to the housing or mounting tabs after a minor knock
- Failed adjustment mechanism — the beam won't hold its aim
| Symptom | Likely cause | Action |
|---|---|---|
| Cracked or crazed lens | Stone chip damage or UV degradation over time | Replace the assembly — a cracked lens lets moisture in and won't pass an MOT |
| Persistent internal misting | Failed seal allowing moisture ingress | Replace the unit; drying it out is only ever a temporary fix |
| Dim or yellowed on one side | Lens yellowing/hazing with age, or a failing reflector | Compare both sides side by side; replace if restoration doesn't fully resolve it |
Reference part numbers
For the Mk4 Mondeo, the commonly referenced headlight assembly numbers are 1835876 for the offside (driver's side, UK-spec) and 1802036 for the nearside (passenger side). Ford revised these across the Mk4's production run and around the facelift, so always confirm the correct part against your specific VIN before ordering — a pre-facelift and facelift Mondeo Mk4 don't necessarily share the same headlight unit.
No reliable torque spec could be confirmed for the headlight retaining bolts on this model — they're not a structural or safety-critical fixing in the way a suspension bolt is, so hand-tight-plus-a-firm-nip with a screwdriver or small ratchet is standard practice, but check your own workshop manual if you want a specific figure.
Replacing the Front Headlight
Safety note: disconnect the battery before working near the headlight wiring loom and connectors. Handle the new unit by its housing rather than the lens, and avoid touching the inside of the lens or the bulb glass with bare fingers.
Tools and parts you'll need
- Correct offside or nearside headlight assembly (see part numbers above)
- Socket set and screwdrivers for the retaining bolts and clips
- Trim removal tool for any bumper or grille clips that need releasing
Removal procedure
- Disconnect the battery.
- Open the bonnet and locate the upper headlight retaining bolts.
- Release any front bumper corner clips or trim panels that overlap the headlight housing, as needed for clearance.
- Remove the retaining bolts securing the headlight unit to the body.
- Disconnect the wiring connector(s) and washer jet hose (if fitted) at the rear of the unit.
- Carefully draw the headlight assembly forward and out, taking care not to scratch the bumper or wing.
Installation procedure
- Reconnect the wiring connector(s) and washer jet hose to the new unit before fitting, while access is still easy.
- Offer the new headlight into position, guiding the locating pegs into their body mounts.
- Refit the retaining bolts and tighten evenly — don't overtighten into the plastic housing.
- Refit any trim panels or clips released during removal.
- Reconnect the battery.
Final checks and road test
Check both dipped and main beam function correctly, along with the sidelight and indicator sections of the unit. Check the beam alignment against a wall or garage door at the correct distance, or have it checked and adjusted at a garage — a new headlight can sit slightly differently and throw the aim off even if the old one was correctly set. Confirm there's no gap or misalignment against the bumper and wing before calling the job done.
Troubleshooting and tips
- New unit still misting up: check the wiring connector and any grommets are fully seated — a new unit shouldn't mist, so re-check the fit rather than assuming a faulty part.
- Beam sits crooked after fitting: almost always the adjustment screw hasn't been reset from the old unit's position — have it checked with proper beam-setting equipment.
- Bulbs not working in the new unit: check the connector is pushed fully home and the bulb wasn't disturbed in transit before assuming a fault.
Once fitted and aligned, the new headlight should throw a clean, even beam with no misting and no cracks catching the light. It's a straightforward swap once the correct part number is confirmed — the part number is genuinely the hard part of this job, not the fitting.
See also our guides to the Mondeo Mk4 front bumper and front suspension arm, or browse all Ford Mondeo guides and the Electrics category for more.